
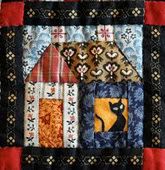
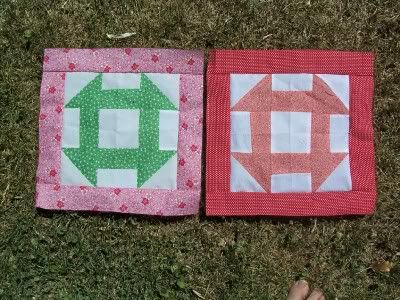
Here is one bat.

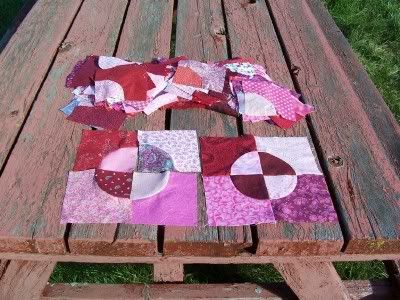
So, what did I use for the batting in my bat placemats? Leftover Warm and Natural! When I have leftovers, I like to use them in Quilt-as-You-Go preplanned projects. How you connect them depends on the type of batting and the depth. With Warm and Natural, I first cut out 7 inch squares and 5 inch hexagons. So, what is left over are narrow batting strips that are usually about 3-4 inches wide. I even up the strips and zig zag them together. I take the opportunity to use up bobbins and nearly empty spools of thread with this projec.t This particular group was mostly leftover from a wallhanging, so I added a couple of pieces to make it large enough to cut out two batts of bats. As nice as it is to use up narrow batting this way, there are limitations on how to use it. The zig zags do not hold the batting together all that well with any weight even after quilting, so you would want your project to either lay on the table or be hung lengthwise. All these narrow strips would be very irritating in a quilt and they likely would separate with regular use.

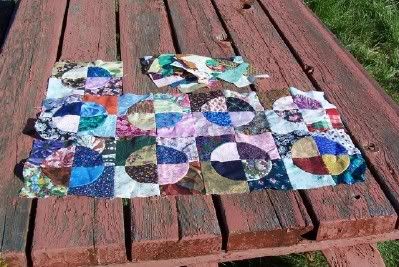
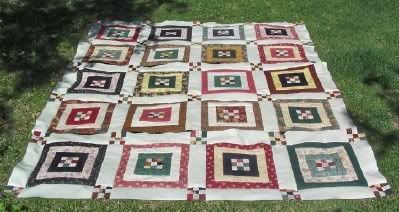
Sometimes you get a little wave in your batting unless you are very precise in your cutting. I'm not that picky, so this often happens on the edges. You can't leave it this way or your project will never lay flat, even with quilting. Yes, quilting fixes a lot of evils, but not all of them!

Easy to fix. First, cut where the wave is the highest and fold the edges over each other until your piece is laying flat. Sometimes you can eliminate several waves with just one cut, as I did here.

Next, use your scissors and cut through. You will have a leftover piece on top and on the bottom and your cut edges will match straight.

Finally, zig zag over the cut edges and you are done.
 | ||
| All Fixed now! |


No comments:
Post a Comment