
Here's my primary setup. We set up the ironing table and iron in the kitchen. This portable resin table was perfectly fine for sewing, but does have some vibration. The white is great as it increases the light. I set up a cutting area, but what you don't see is the chair to the left where I was able to place fabrics and tools at the ready. A light behind and a light to the side eliminated shadowing. On the table is my Log Cabin project. While many people do not use templates for log cabin, if you are cutting your blocks from scraps that prevent effective strip piecing, using templates will save you tons of time. These Shar Jorgensen templates (now sold by Omnigrid at Joann's) produce a 1 3/4 inch unfinished strip (1 1/4 inch finished) which is really a nice size to blend together lots of different colors of scraps. However, the resulting blocks ARE NOT SQUARE which limits your arrangements.

This area is primarily the prepped pieces ready to be sewn for the log cabin blocks. Doing 10-13 blocks in the same order at the same time really helped with staying organized and reduced the need for ripping out mistakes. The pink pile at the top of the photo is my completed Drunkard's Path pieces which I did as my beginning and ending pieces to eliminate all those long threads you would otherwise get. I normally just use little squares, but this really helped me advance on the DP project! Also, I absolutely love that red bobbin holder. I never have bobbins falling places any longer. My fabrics for this project primarily came from a 10 inch square swap in 2003.

This is the right of my machine. It includes blocks ready to have the next piece attached, as well as my beginning and ending pre-pinned drunkard's path pieces. Another quilter made that fabulous pin cushion and scraps holder - it is so cheery and happy. Yes, I will admit that I do not press between additions. The pieces are already cut to size and I just make sure I don't get puckers and that the seams go the right direction. Yep. Lazy.

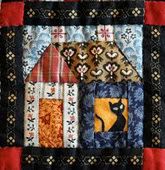
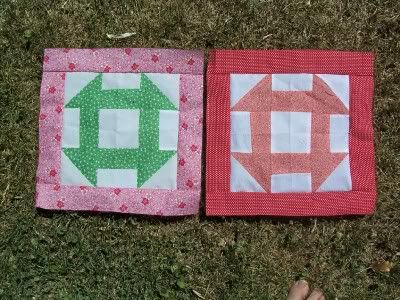
Here are some of the completed log cabin blocks which features my colors of green, red, beige and gold. I have since completed a total of 48 blocks (need 80).

I also worked on my Twees. I am 3 short as I didn't cut enough beige. I'll get those done this week so I can advance on the sashing. I've been doing this quilt almost since I first began quilting in the early 90s and decided that this was the year I was going to do it! The pattern is called Winter Pines by Sharon Hultgren. Very easy and uses the Easy Angle ruler to cut out.

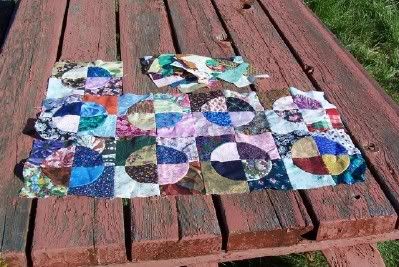
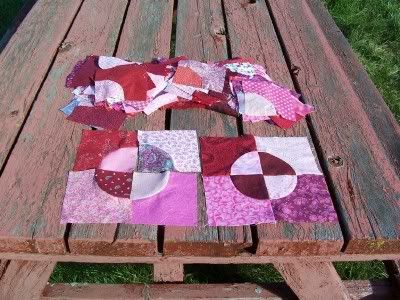
Here is the beginning and end project: a Pink Drunkard's Path. I've finished enough of these curves to do about 40 blocks so far. I'm not sure how many I need for the nearly queen sized quilt, but I know I need at least 80. This project is composed entirely of reds, pinks and purples from my scraps. I used Shar Jorgensen's 4 inch DP templates for this.

I worked a little on this Scrap Drunkard's Path as well. These are 3 inch blocks and much more suitable for cutting from scraps. Not really any harder to sew. You are still making a 1/4 inch seam. You just need more of them.

Here's a comparison of 3 inch vs. 4 inch Drunkard's Path templates.


1 comment:
Wow! You're very organized and neat. I neat to learn that from you! I'm a beginner quilter and just love, love, love your projects. They're all so beautiful!
Post a Comment